Tag: Projects
-

Can you quit Vim?
The note taking application Obsidian makes me nearly spit my coffee out with a fun pop-up message about exiting Vim.
-
Procrastination via Optimization (Yak Shaving)
Procrastination via endless optimization of my work environment. Otherwise known as Yak Shaving. Learn how my workstation config evolved.
-

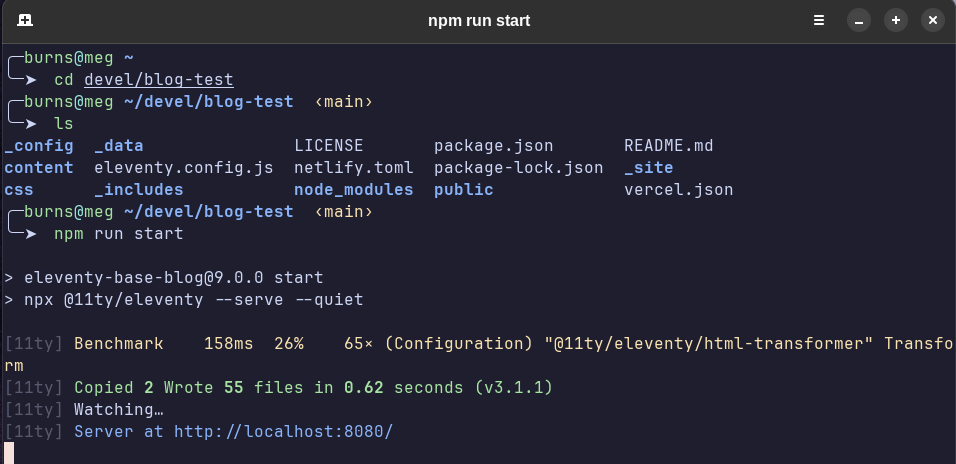
Should I switch to a static site generator?
Thinking about the switch between WordPress and the Eleventy static site generator after 23 years of blogging.
-
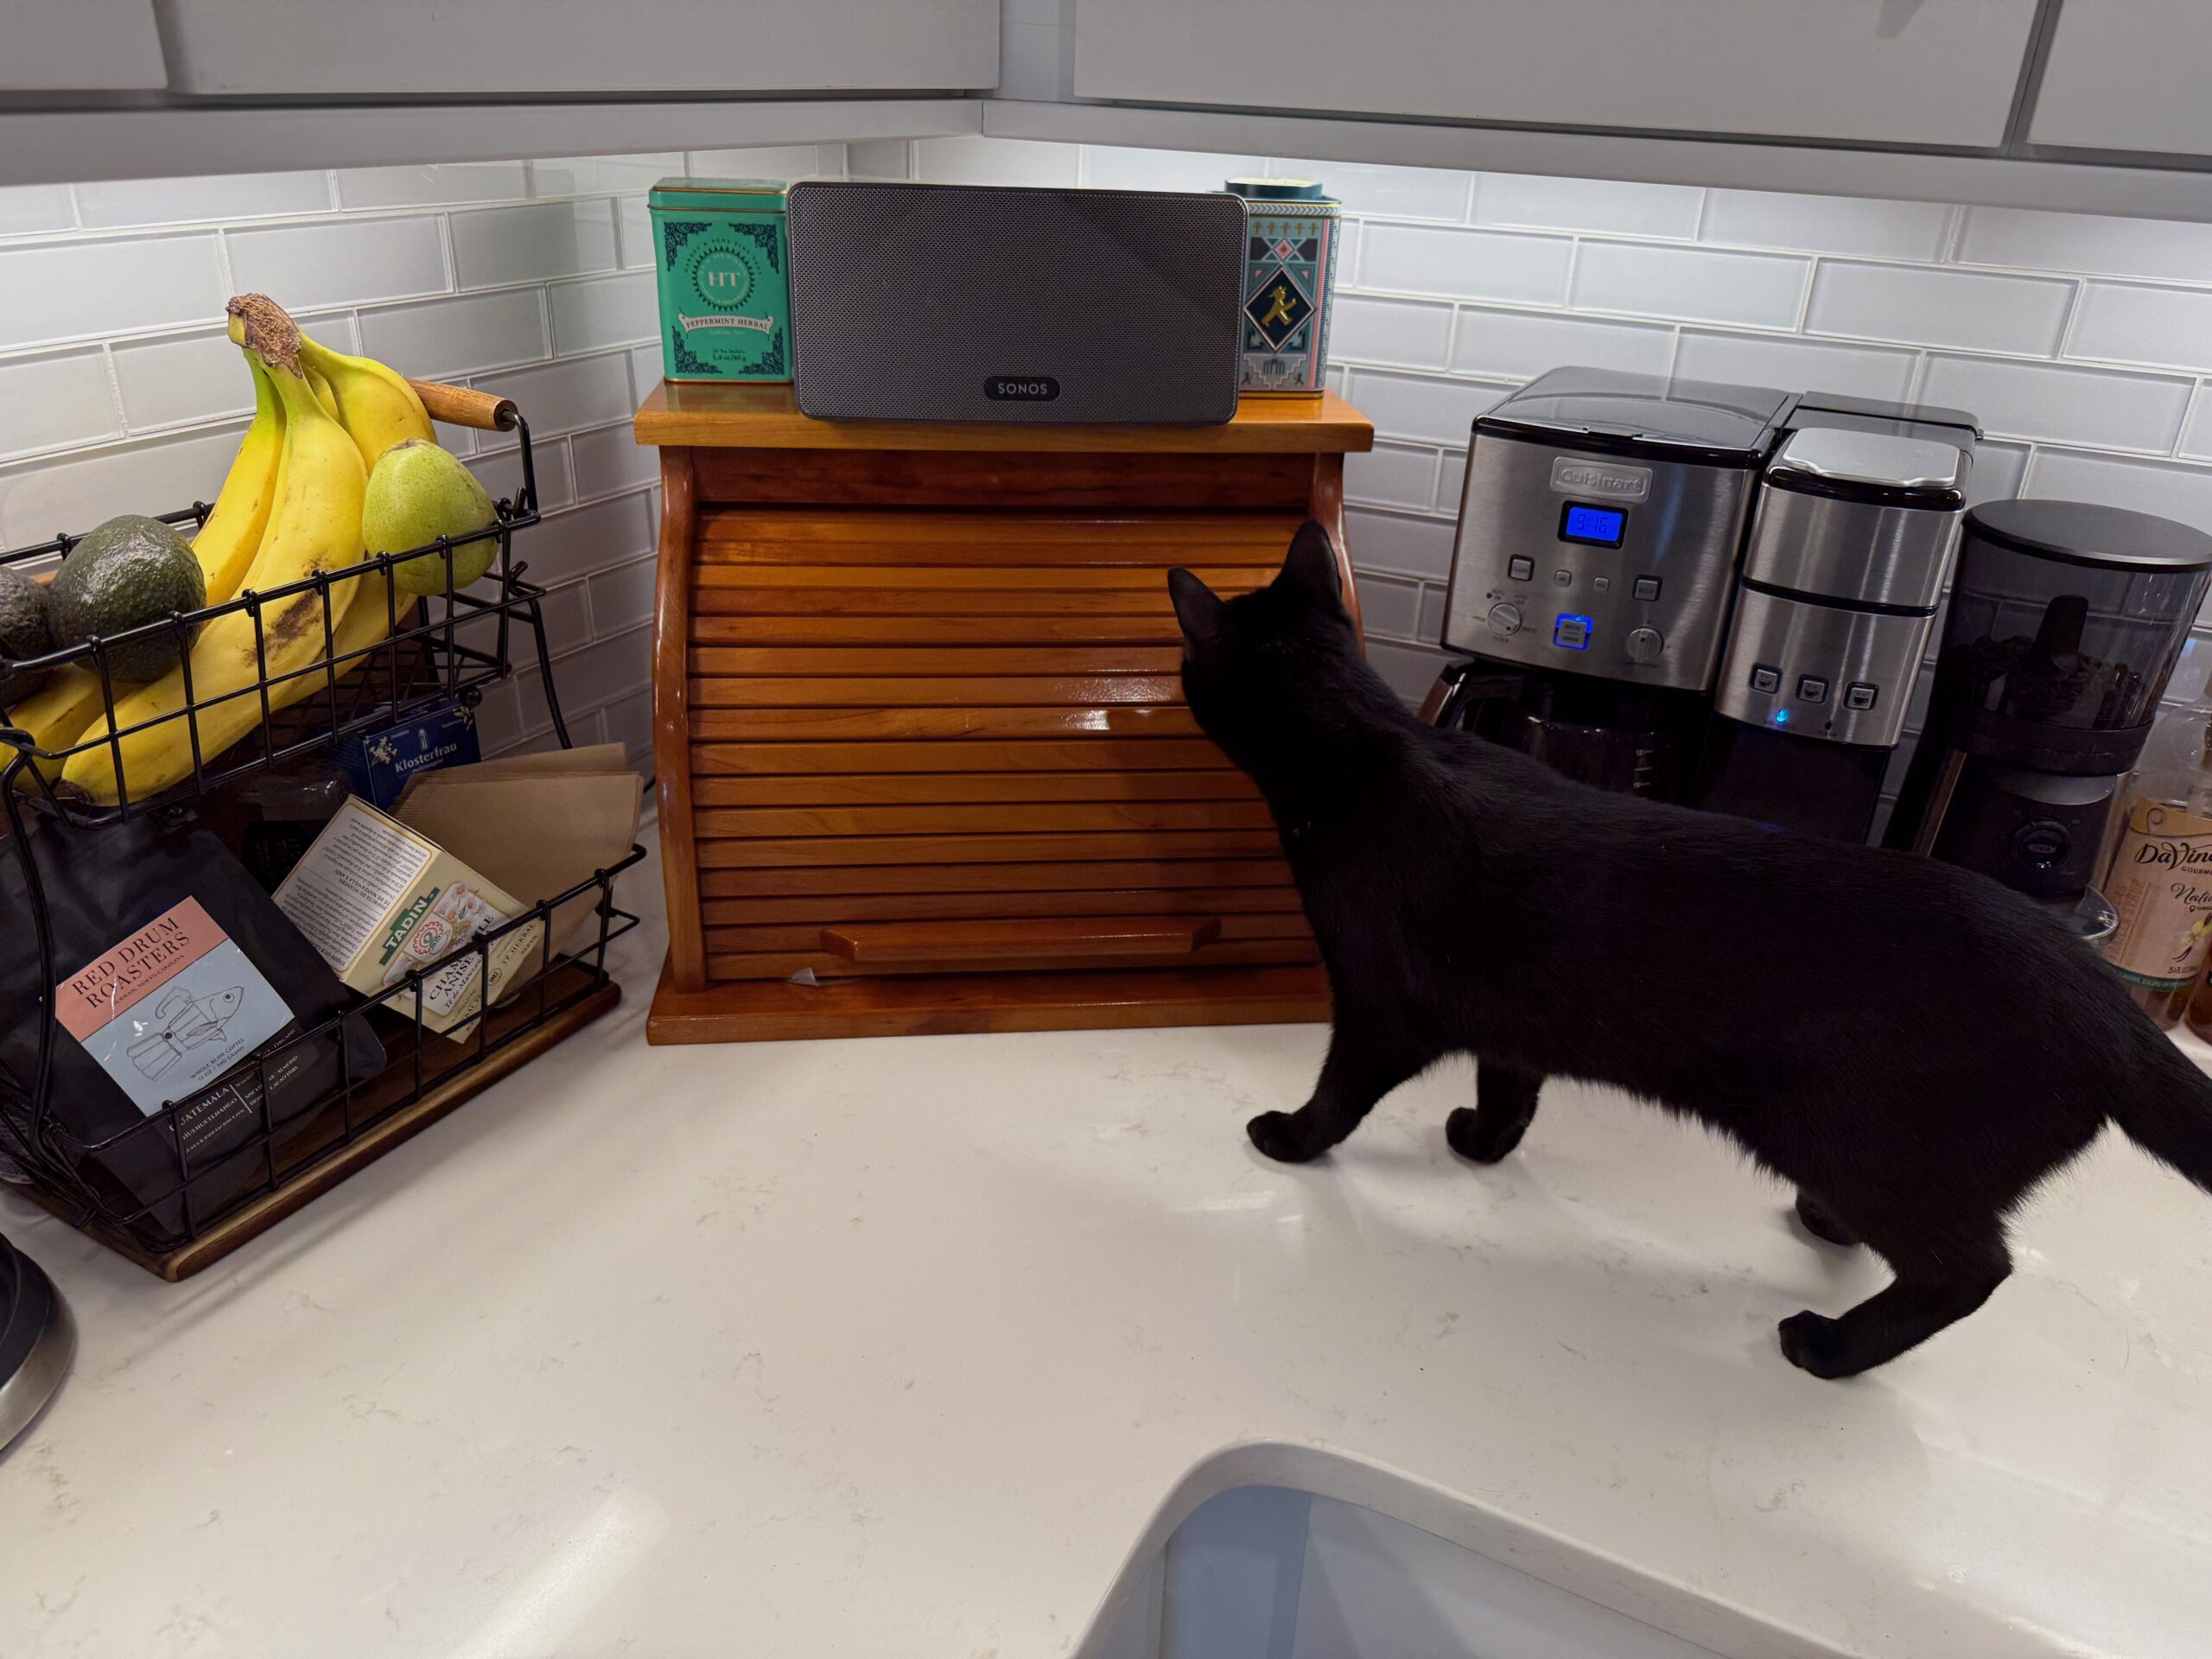
Bread Box Assembly
A finely crafted bread box tells a tale of its own creation, and the people and places that shaped it along the way.
-
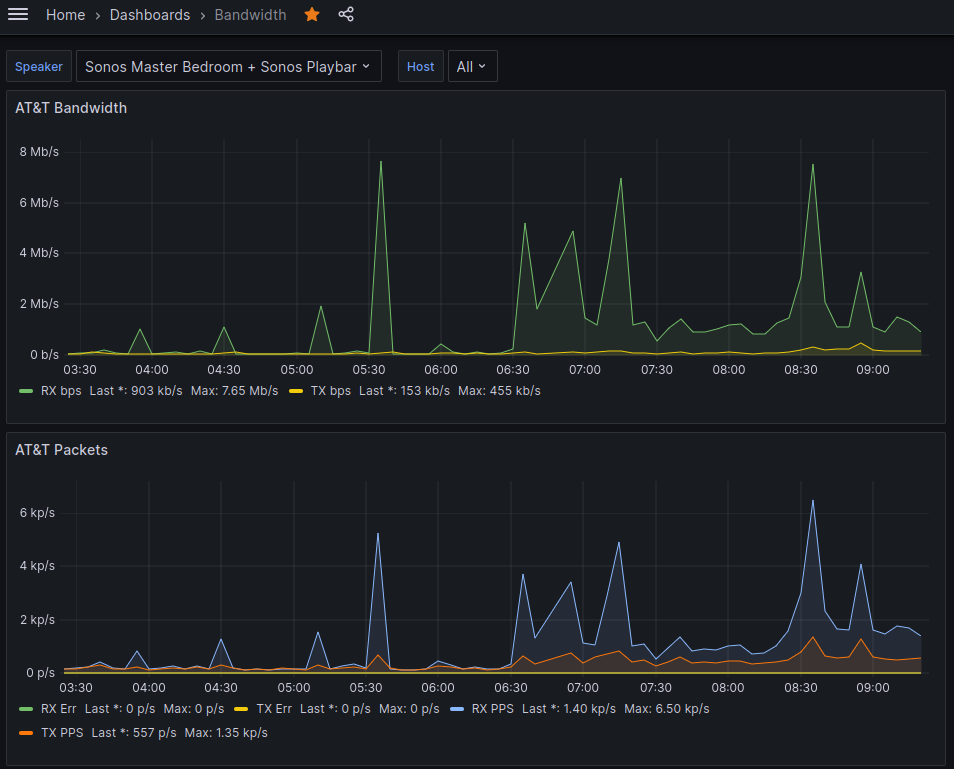
Measuring AT&T Internet Bandwidth with Python, InfluxDB, and Grafana
Any technical system you build inevitably slides into decay as the ecosystem you’ve borrowed from upgrades slowly over time while you’re off doing other things. The parts you custom tailored now no longer fit. Some of the suppliers go out of business. Some changed businesses altogether. That’s where I find myself with my home network…
-

Becoming Anti-social
This isn’t about becoming anti-social in the traditional sense, but more anti-social media. Asocial would be a more accurate term. A few years back I made a decision to disconnect from most social media platforms. If you wanted to get in touch with me or know what I was doing, you would have to see…
-
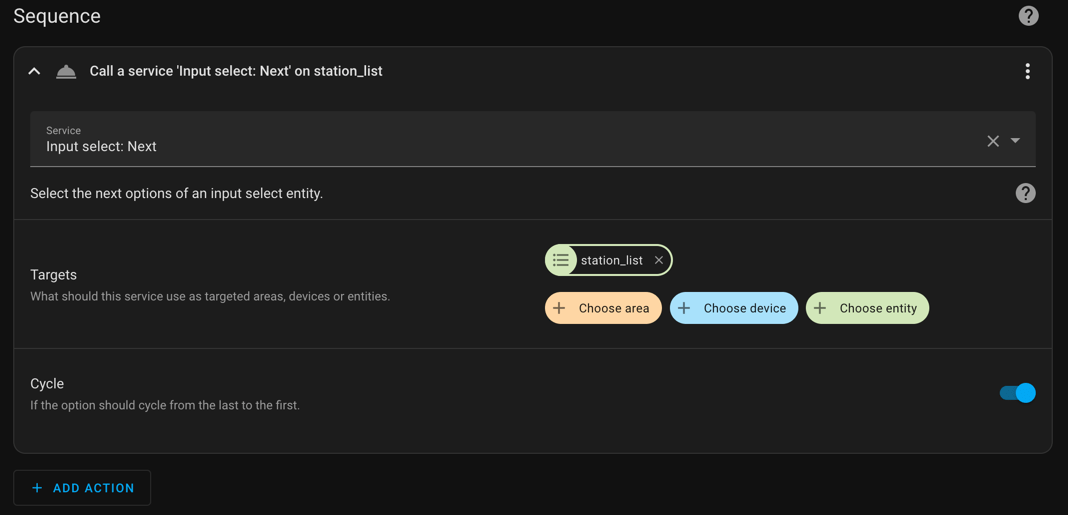
Random Playlist Selector with Sonos and Home Assistant
Here’s something different for the blog. I’ve taken some inspiration from the HashiCorp RFC and am tracking my personal project that way. I find it useful. Problem Statement I get tired of listening to the same playlist too often. I also want to reduce the number of choices I need to make in the day.…
-
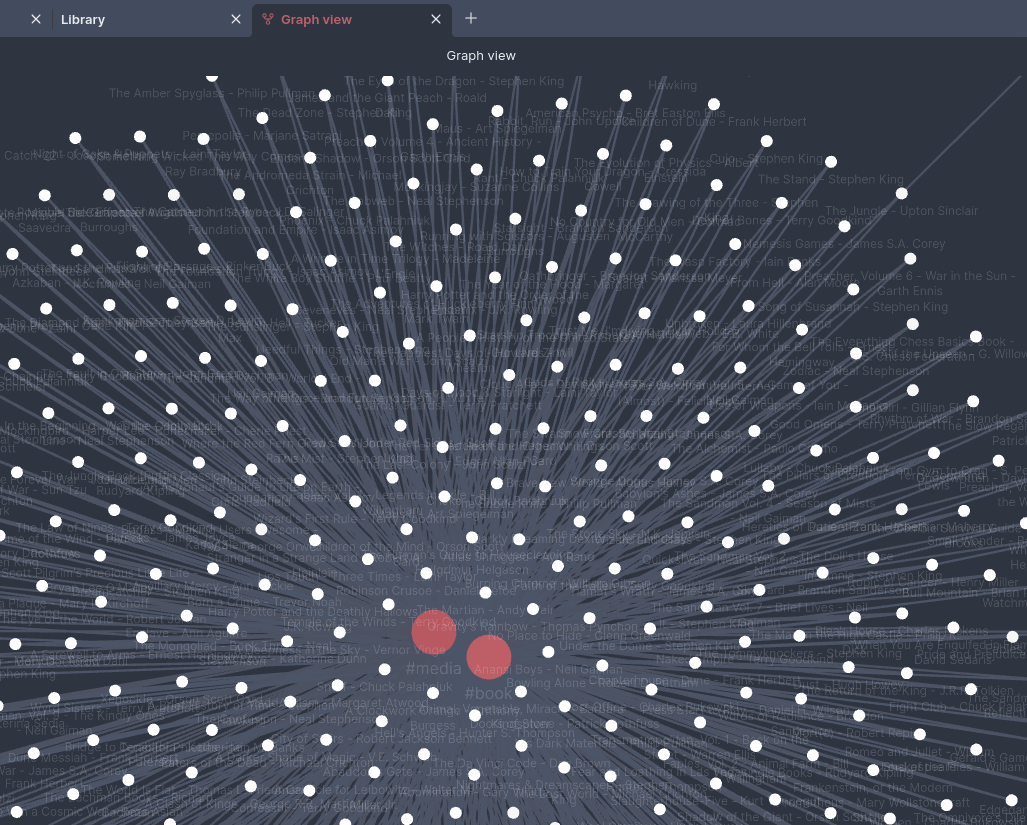
Converting from Goodreads to Obsidian
Last month I got an idea that I’d like to do book reviews in my Obsidian note taking vault. This would satisfy a few problems I’ve had: There were GREAT plugins available like the Obsidian Book Search plugin. However, there wasn’t anything that would take my 400+ books with review text, rating, date read, and…
-

nftables!?
Apparently while I was busy working on some other things, the world switched to nftables and no one told me. I logged into my Linux web server the other day and realized the firewall rule set that had been hand crafted with iptables probably a decade or more ago is now completely gone. It probably…
-

Obsidian for Tasks and Lowering Blood Pressure
I started creating tasks in Obsidian using the tasks plugin and at first it was amazing. It really helped me lower my stress levels because I knew that I could just write something down in my notes and Obsidian would remember it for me. I could quickly scan through my task list and make sure…