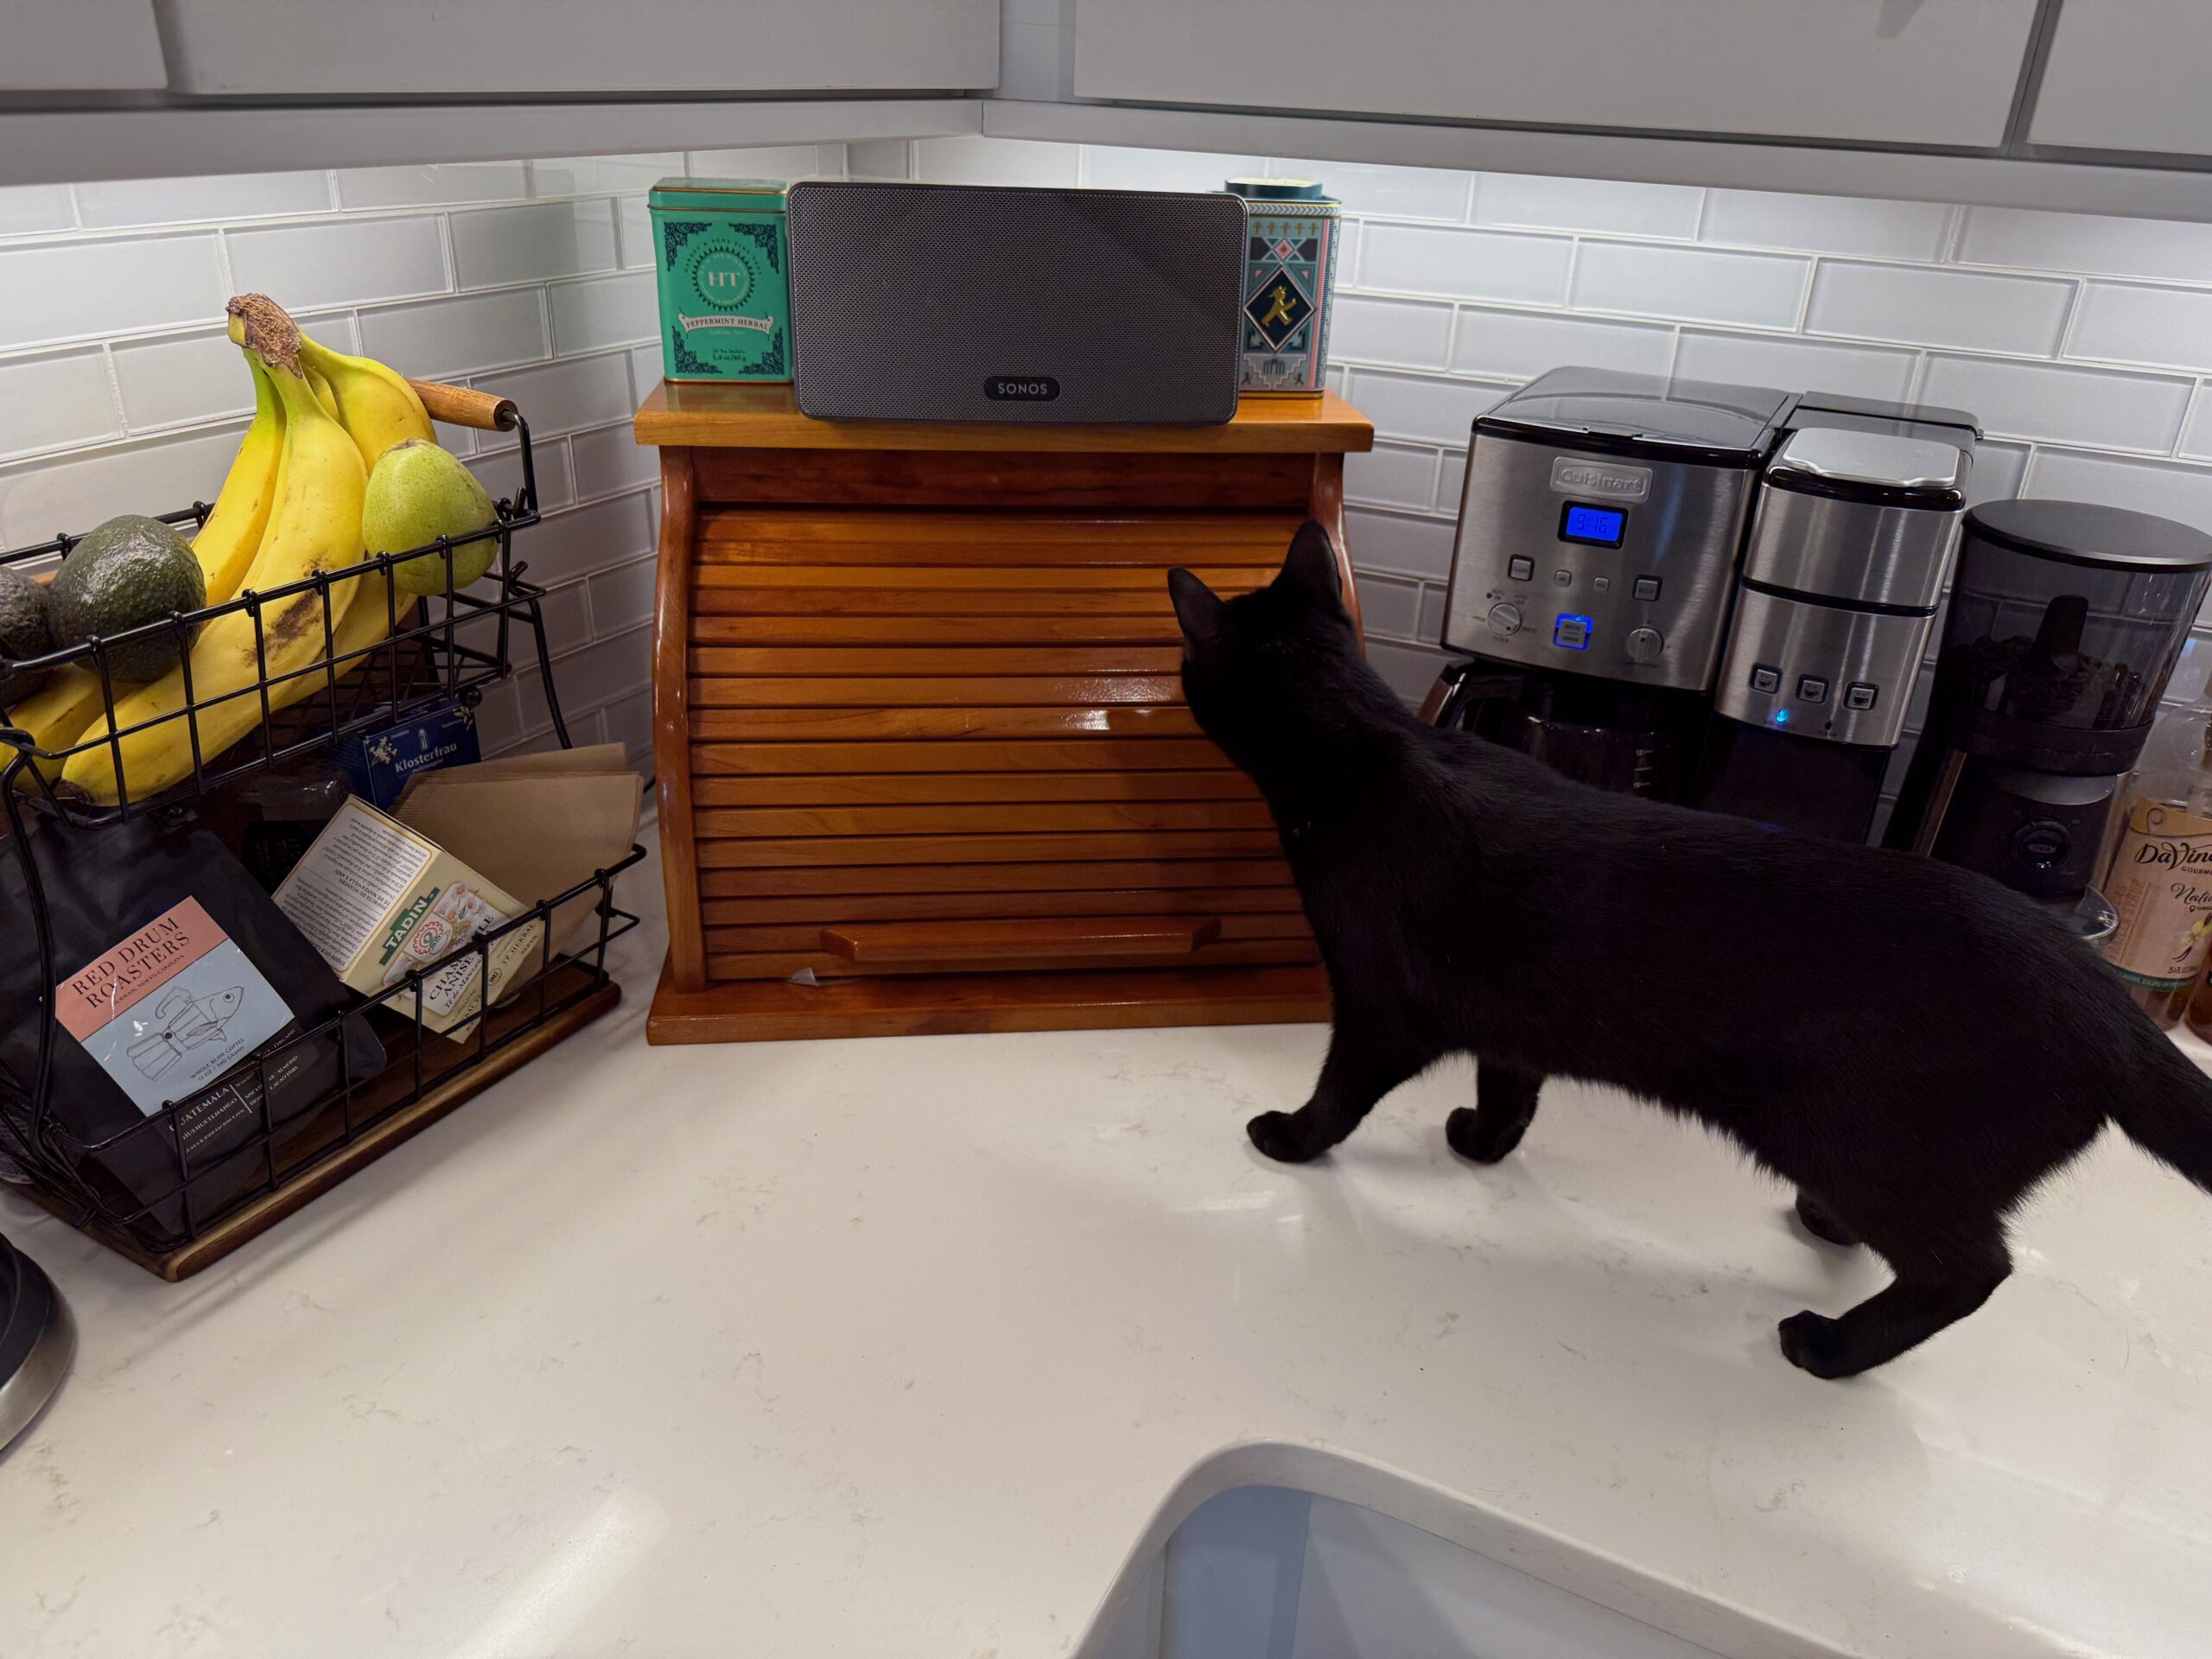
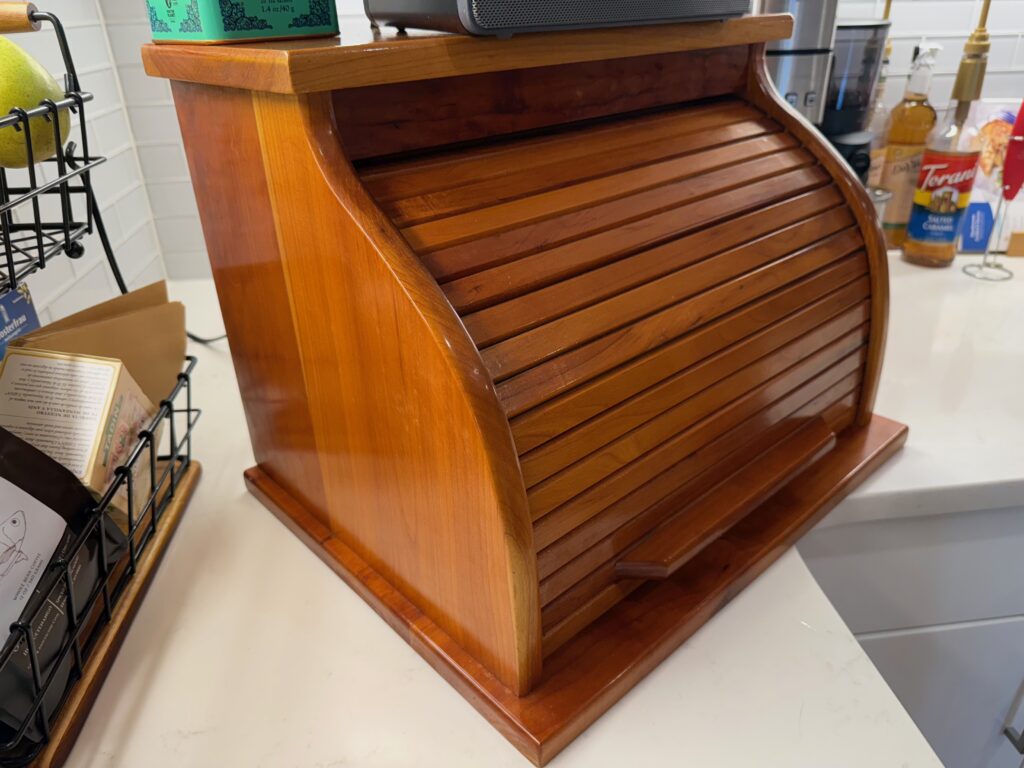
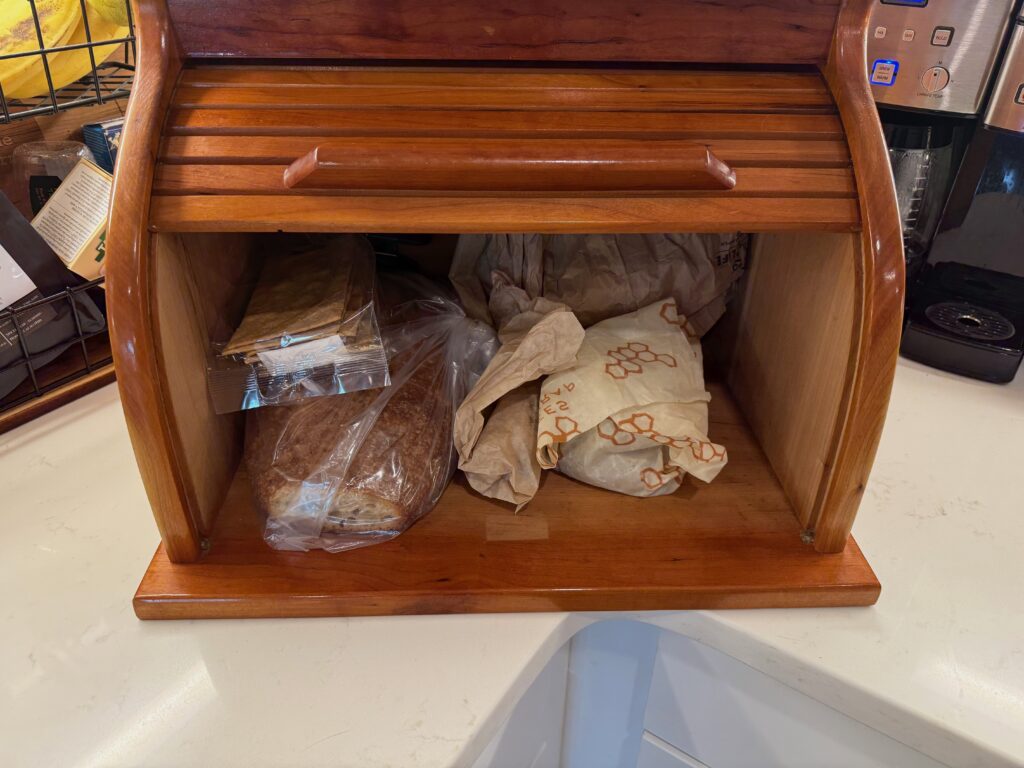
Yesterday Kat pulled out a bread box that had been hiding in our pantry since we moved downtown. Before that, it had been tucked away in our basement ever since I moved into Kat’s house. Long neglected, it still looked amazing sitting on the counter under the cabinet lighting. This made me think a lot about the provenance and history of this one simple item. So much time and effort of multiple people went into crafting this from very specific materials and the result is a bread box that lasted for over 25 years with no maintenance.

Here is that story. The story of a bread box.
In the late 90s, probably around 1998, I was living with my dad in a house that our family had built ourselves in a pretty rural area of Western New York. Dad is a millwright and carpenter by trade, but a hunter, farmer, and haggler by heart. One of the things that he took the most pride in was his cabinetry and cabinet making. We had a whole wood shop set up in the basement with all of the right saws, routers, and jigs to make any sort of cabinetry.
Since we lived in a place so remote, one of the main methods for heat was firewood. We had water circulated radiant heat in the house, powered by a giant, wood-hungry boiler in an ancillary shed sitting some hundred feet from the house. I say wood hungry, but really we just threw some logs in a few times a day. Granted, these logs were 3 feet long and sometimes up to 10 inches wide and were heavy enough that only my dad and I could fill it. As an aside, when I moved away my dad has had to start cutting the pieces smaller, so my stepmom can fill it as well. That’s a long way of saying we had to cut a lot of firewood, and there was no way in hell we were paying for it.
My dad was in the house building business and the hunting hobby, so he knew a lot of neighbors who we had either built houses for or had asked to hunt on their land (usually both). Across the street from us, there was a prime set of forested land that had tons of beech and ash. Our property was a little more modest at the time and we had just some open field.
One winter, because my dad refused to cut firewood when it was hot outside, we asked the neighbor if we could take some of these Ash trees along with some of other trees we’d clear out and use for firewood. That started the process of getting up just after sunrise, throwing on extreme winter clothes, gassing and oiling up the chainsaws, sharpening the chains and loading up the box on the four wheeler with axes, plastic wedges, and extra gas and oil. Along with lunch and a thermos of hot coffee.
At the time we only had a single four wheeler that was much abused from my grandfather. We loaded up “butts to nuts”, as they say, and headed off into the woods. The process of cutting the trees down was always a challenge, or maybe a better word is competition. Dad was competing with himself to show off to me and whoever else was around how well he could aim a tree when he cut it down. I have to say I usually was very impressed. I don’t know how the hell he did that. He could look at the tops, make his cuts in the right places, know exactly when to stop and hit the wedge, when to go back to cutting, and more often than not we got the tree down exactly where he wanted. When it didn’t come down where we wanted and got hung up other trees, well those were exciting mornings. Sometimes we’d have to cut down two or three extra trees that we didn’t plan on just to get the trees down. When you’re cutting a tree down that has another tree (or two) pressing against it that’s ready to fall in any moment, it’s pretty hair-raising. My job was to watch and yell in those situations. Dad’s job was to listen for me yelling, try to yank out the chain saw if possible, and run. I still remember the beech trees being the scariest for this because they were extra thick and dense trunks. They fell with a crash that shook the world.
Because we just had a four wheeler and some straps, our process was to cut the logs into maybe 10 foot or 15 foot segments, pretty much as long as we could get them, and haul out whole logs using the friction reduction of the snow. That little four wheeler struggled like hell sometimes and I remember the front wheels coming up off the ground as we were trying to haul logs out. I’m pretty sure dad made me sit on the front as a counter-weight. Luckily, it was downhill from the property where we were cutting to our house.
When we were cutting the trees down, we had a pretty good idea right from the start if that was a tree destined for firewood, or a tree that might be destined for lumber. We found a particularly nice strand of ash trees, and dad had an idea that this light, densely grained wood, would be perfect for some of his cabinet projects. Now that I think about it, this must’ve been before the Emerald Ash Borer crisis that wiped out the Ash population. At the time, I don’t know if we were even aware of that ongoing infestation, but it’s great that we got to preserve some of these trees before they perished. Even if preserving them in bread boxes maybe wasn’t the most environmentally friendly. I’ll always remember them from their bark, their sweet smell, and their amazing grain pattern.
So where are we now? Logs. How do you get from a log to a bread box? The answer is a lot of time and a lot of manual labor.
I’m pretty sure these logs sat for maybe a season just in our yard in the log pile. Yes our yard had a log pile. Why didn’t yours? My dad searched for someone with a mobile mill to come and cut the logs into rough planks. This is a giant piece of equipment on a trailer with a huge horizontal bandsaw on a slider. You lever the logs into position laying on this giant bed that has chucks (or teeth) to lock the logs into position. Next, this bandsaw slides across the whole length of the log, starting at the top, taking subsequently lower passes, depending on how thick you want your planks to be cut. You can also take a pass, rotate the log 90 degrees, and take another pass to get a start at square sided planks. This process took quite a few hours since we had a lot of logs to cut. At the end, you’re left with stacks of rough cut lumber.
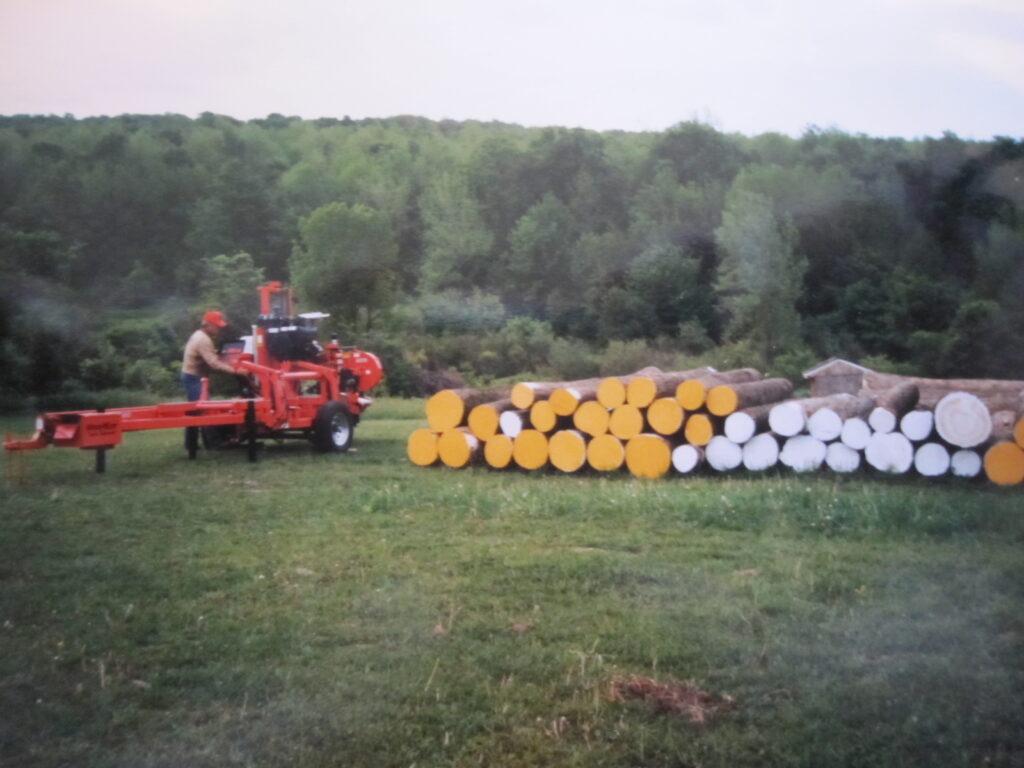
If you need more portable saw mill photos, check out Wood Mizer. I recommend the picture of the dog on the log. Log dog.
The next step is to load up the van with all this rough cut lumber and take it to the kiln. I had no idea this was needed to make lumber, but apparently you dry the wood in this heated kiln, which appeared to be just a big warehouse, for something like a month maybe more. It took quite a long time is what I remember, and then you drive the van back loaded up with your dried planks still rough cut.
So these rough cut planks look like they’ve been through an angry band saw, so they’re really rough to the touch. You can’t make a cabinet or anything fancy out of these. We have to put them through a planer. This is basically a flat spinning cylinder with some sharp edges on it that takes off thin sections of the plank, almost like putting it through a roller squeegee, which is probably a reference that’s way too old. The main point is we had a contractor grade DeWalt planer and what we probably needed was an industrial grade planer. This planer had two ends, the feed side and the chip side. The chip side was where the smooth-ish planks came out as well as all the chips and sawdust debris that got violently spat out. This was a two person job. You can guess which side I had to stand on. The planer cuts only on the top, and so as you pass the plank through, you crank the planer down ever so slightly on subsequent passes, flipping the plank over as well to get both sides.
After what seemed like days or maybe weeks planing planks, we had two flat sides on every plank. Yes, this seems like a problem, planks have four sides. Then comes the jointer. You repeat the same process as the planer, except the jointer has better dust control, and spit stuff out under the floor. It’s a single flat cylinder of blades that sits in a bed. You stand the plank up on the side holding your now flat-planed long edge against the back of the planer, and the short edge goes through jointing on the bottom edge. I don’t know why they call this tool a jointer? I guess it’s because you need two perfectly square, flat edges to join to planks together? A person who uses a jointer is called a joiner. Wow, thanks language.
Now we have a pile of planks that are all the right dimensions for width and height with 90° corners everywhere. Next comes the jigs. Since we have a pile of planks and a plan to make bread boxes, we need an assembly line. Dad mapped out all the different size boards that are needed for the final bread box after making a single bread box as sort of a test run. So we made a jig for each one of the pieces that make up the bread box. If you make 16 bread boxes, you will need 32 sides of the bread box, But the sides are made up of two pieces that are joined together to make a wider board. So you set up the right jig, making sure you’ve really measured the hell out of things, and you cut yourself out 64 pieces of the right length. Don’t mess this up, or you’re going back out into the cold to cut down more trees.
This process gets repeated for every component. Some components are a single board like the top and some components are a ton of pieces like the sliding roll top cover. We must’ve cut hundreds of those little roller top pieces. My dad could probably tell you how many exactly.
Once you have all your components, you need more jigs for assembly. These aren’t super complicated as far as I remember. It’s just lines on the table and a couple stop blocks clamped down to hold things in the right place to cut out the right shapes route out the right things after having everything glued together. Assembly of the individual components happens first, so you make all the sides You make all the tops you make all the roll tops then you can do the final assembly, which is I think gluing and nailing things together. I wish my memory were better on this.
Before you can call your bread boxes complete, they need finishing. The first step of which is sanding. Oh my god, so much sanding. My fingers hurt remembering it. There were a lot of rounded corners so we did a lot just by hand.
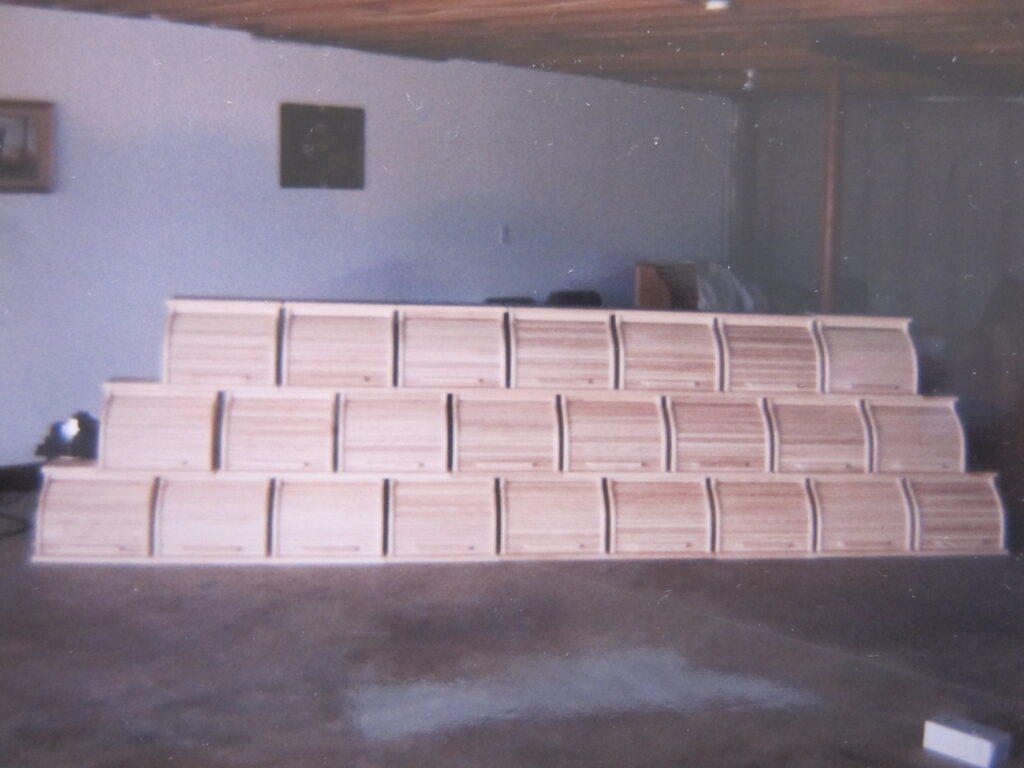
Now, you have a pile of bread boxes that you can stack and look at in awe.
Now you transition to the natural enemy of the carpenter, which is the paint shop. No sawdust, no wood chips. You need a clean room, which means you had better be done with all of your cutting and routing and rough sanding. Some of these bread boxes were stained in red oak colors, which is kind of a light yellow. Some we left natural without very much color at all, and just applied a varnish. I think it was usually one coat of stain, a light sand, one coat of varnish, another light sand, and then a final coat of varnish, being really careful to prevent runs. I remember doing this in the winter was tough because the varnish was pretty thick in the basement. You can still see the marks inside the bread boxes where they rested upside down on their home-built varnishing stands. You had to hold them up on one small spot so you could stain and varnish all the rest.
My memory tells me this might have been a block holding the top open, instead. Unclear.
I think my dad tried to sell these bread boxes in 1998 or so for maybe $120 or $150 each. Folks in our area balked at the price. After working through this assembly process from start to finish, it’s really hard to put a price on these. We spent so much time and so much of our own money, hauling lumber around, paying for the mill, paying for the kiln, paying for all the materials, such as the glue, the nails, the sandpaper, probably an extra blade for the planer. I don’t think it would be possible to recoup your money at that price. We probably needed to find a different market.
So that’s the story of my priceless bread box and how it held up for 25 years of neglect to still look beautiful on the counter.
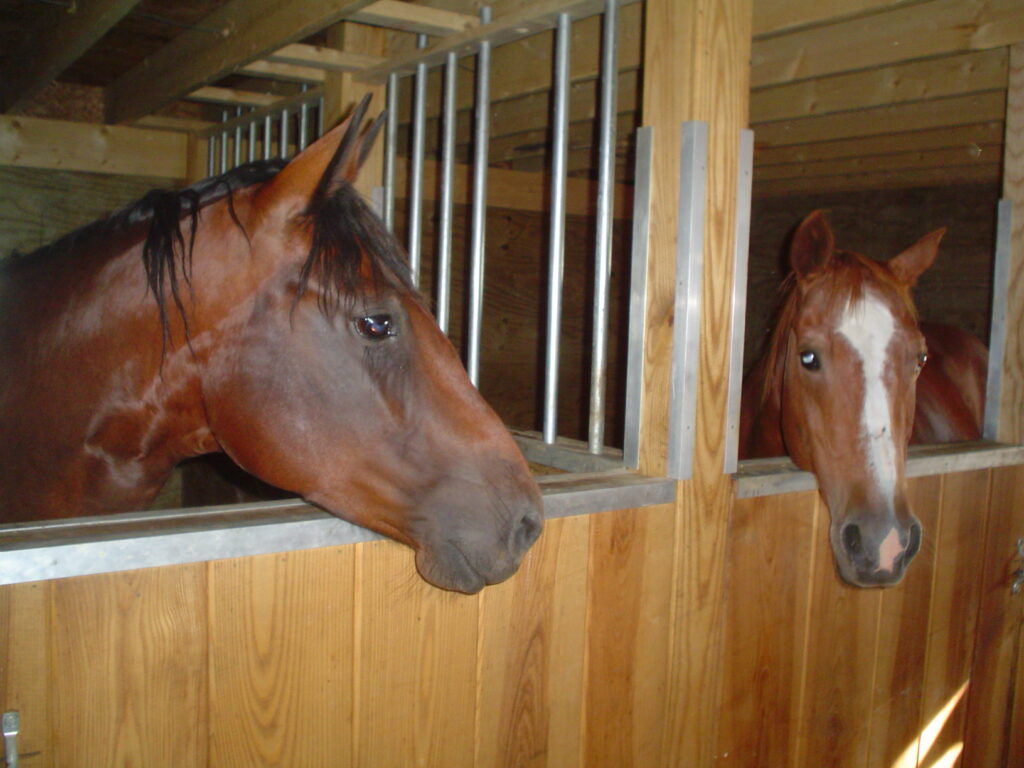
I was looking through old photos, and not all of the Ash got turned into bread boxes. Look at these horse stalls we built from the rough cut planks. Maybe they took a pass or two through the planer looking more closely, but they weren’t as finished as the bread box boards.
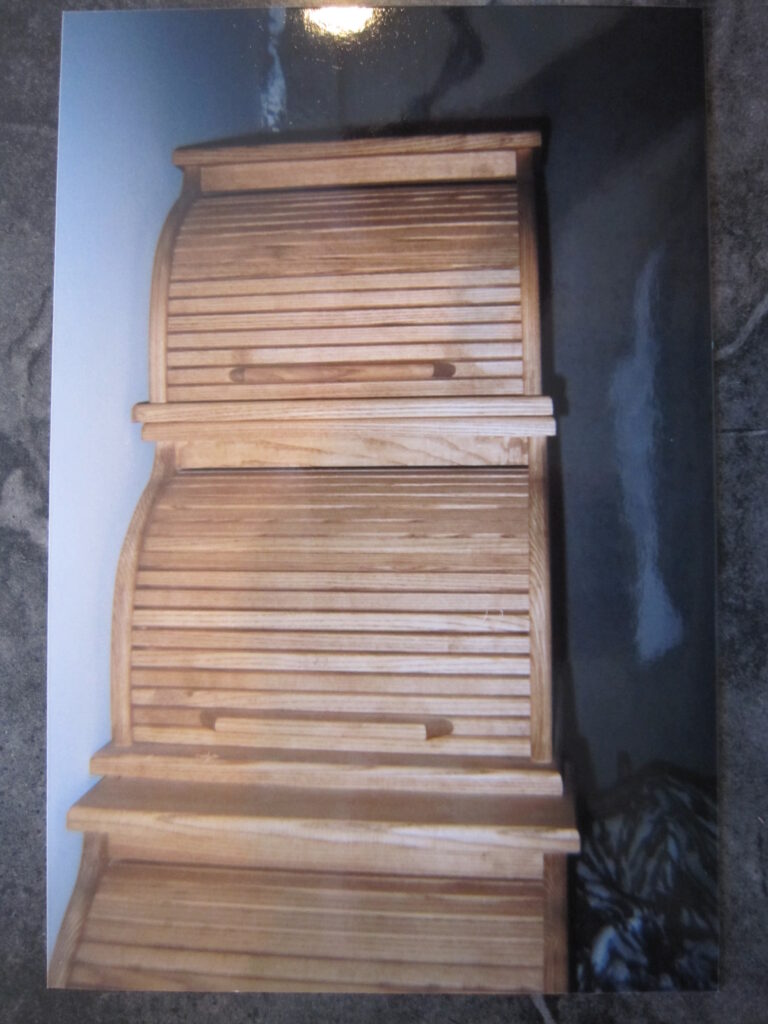
And another pre-finished view. I think these are stained but not heavily varnished.
Thanks for taking this walk down memory lane with me.
Leave a Reply to Jason Burns Cancel reply