Tag: hacking
-
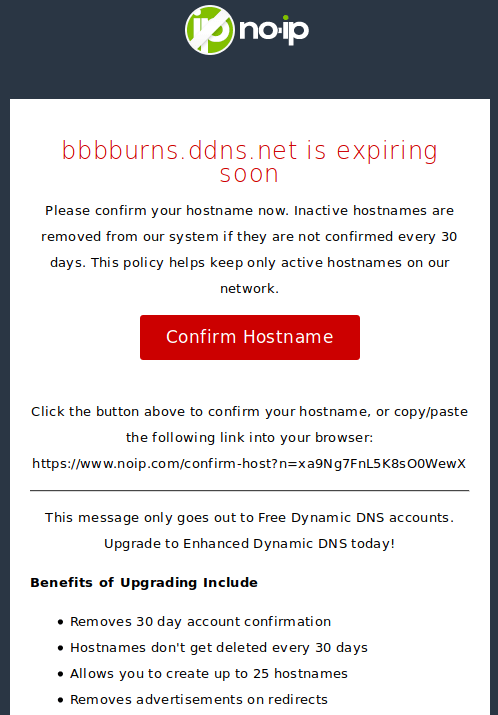
Ditching No-IP for DuckDNS
I’ve been using dynamic IP address services from no-ip.com for a long time to give a DNS name to my dynamic home IP. I remember having a no-ip.com address in college around the early 2000s for my dorm, then apartment, computer. I went through a hiatus after college where I managed my domain name to…
-
Let’s Encrypt – How do I Cron?
Let’s Encrypt was really easy to setup, but Cron was less so. I kept getting emails that the Let’s Encrypt renewal was failing: I had a cron job setup with the absolute bare minimum: When I ran at the command line, everything worked just fine. I was like, “Oh – this must be some stupid…
-

Let’s Encrypt – Easy – Free – Awesome
I recently saw a news article about StartCom being on Mozilla and Google’s naughty list. Things looked bad, and my StartCom certs were up for renewal on the blog. I have seen articles flying around about Let’s Encrypt for a while now. The idea seemed awesome, but the website seemed so light on technical instructions…
-
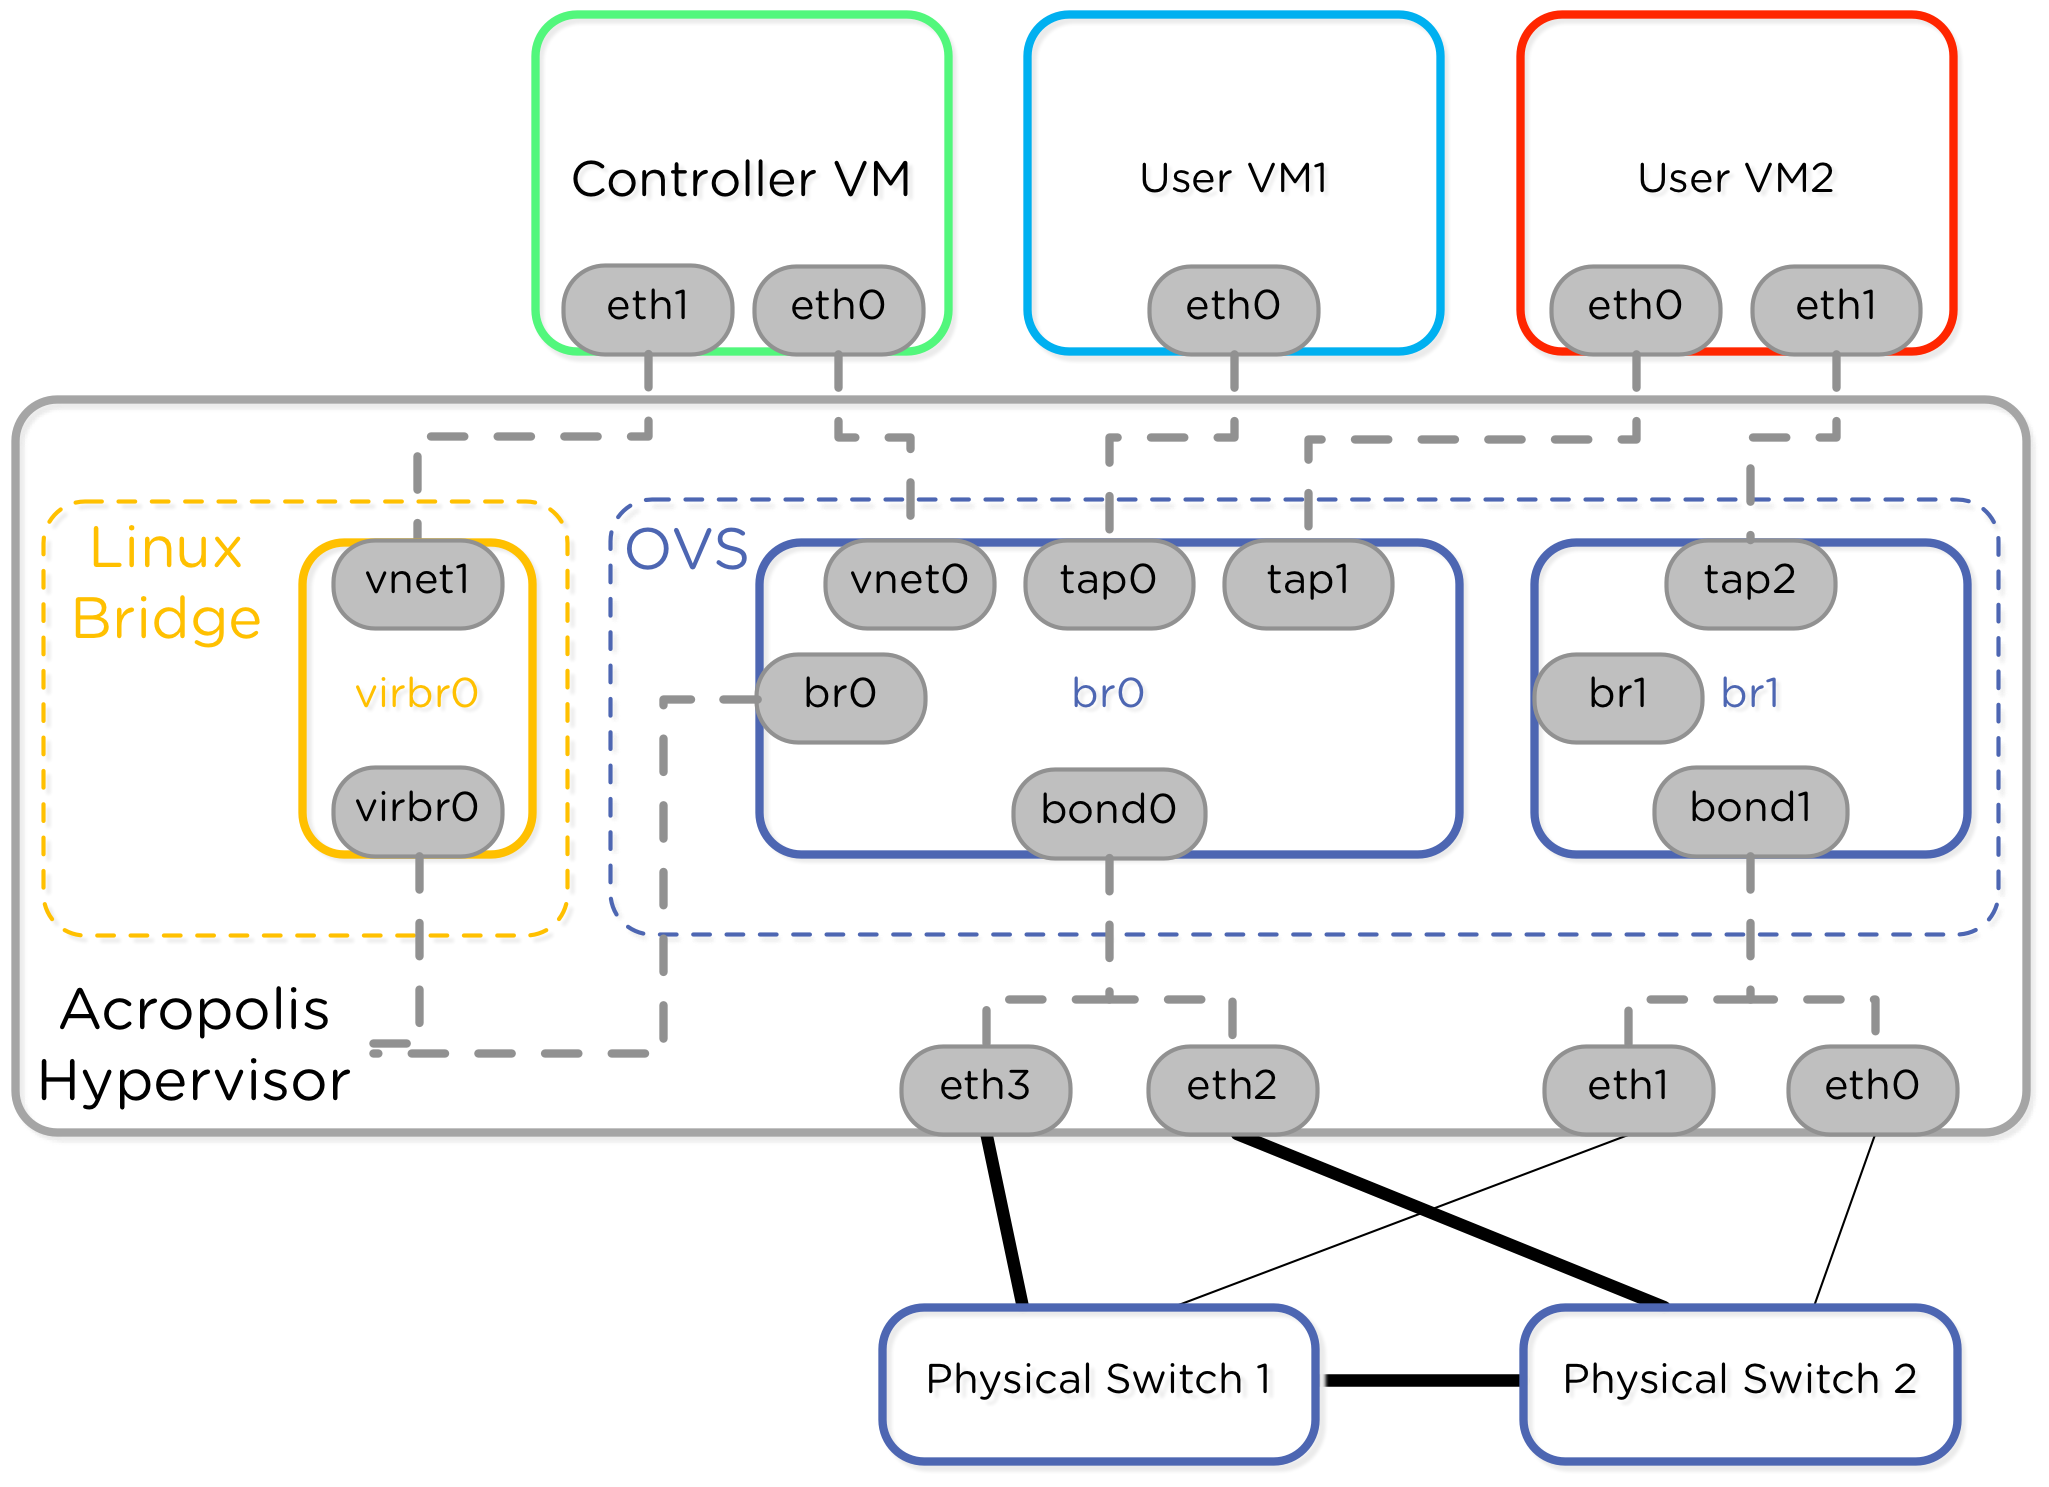
Networking Exploration in Nutanix AHV
Nutanix recently released the AHV hypervisor, which means I get a new piece of technology to learn! Before I started this blog post I had no idea how Open vSwitch worked or what KVM and QEMU were all about. Since I come from a networking background originally, I drilled down into the Open vSwitch and…
-
CYB3RCRIM3 Reading
Call me crazy, but I really love reading legal analysis at CYB3RCRIM3. I discovered the site via an OPML file passed to me by a friend in the security industry. Thanks Devon! I can see how the walls of text might not be appealing, but the material is great. Legal writing is just so different; almost formulaic…